実験実習
| タグ |
|---|
sudo apt install nginx
admin@raspberrypi ~> cd /usr/share/nginx/
admin@raspberrypi /u/s/nginx> ls
html/  modules@  modules-available/
admin@raspberrypi /u/s/nginx> cd html/
admin@raspberrypi /u/s/n/html> ls
index.html
admin@raspberrypi /u/s/n/html>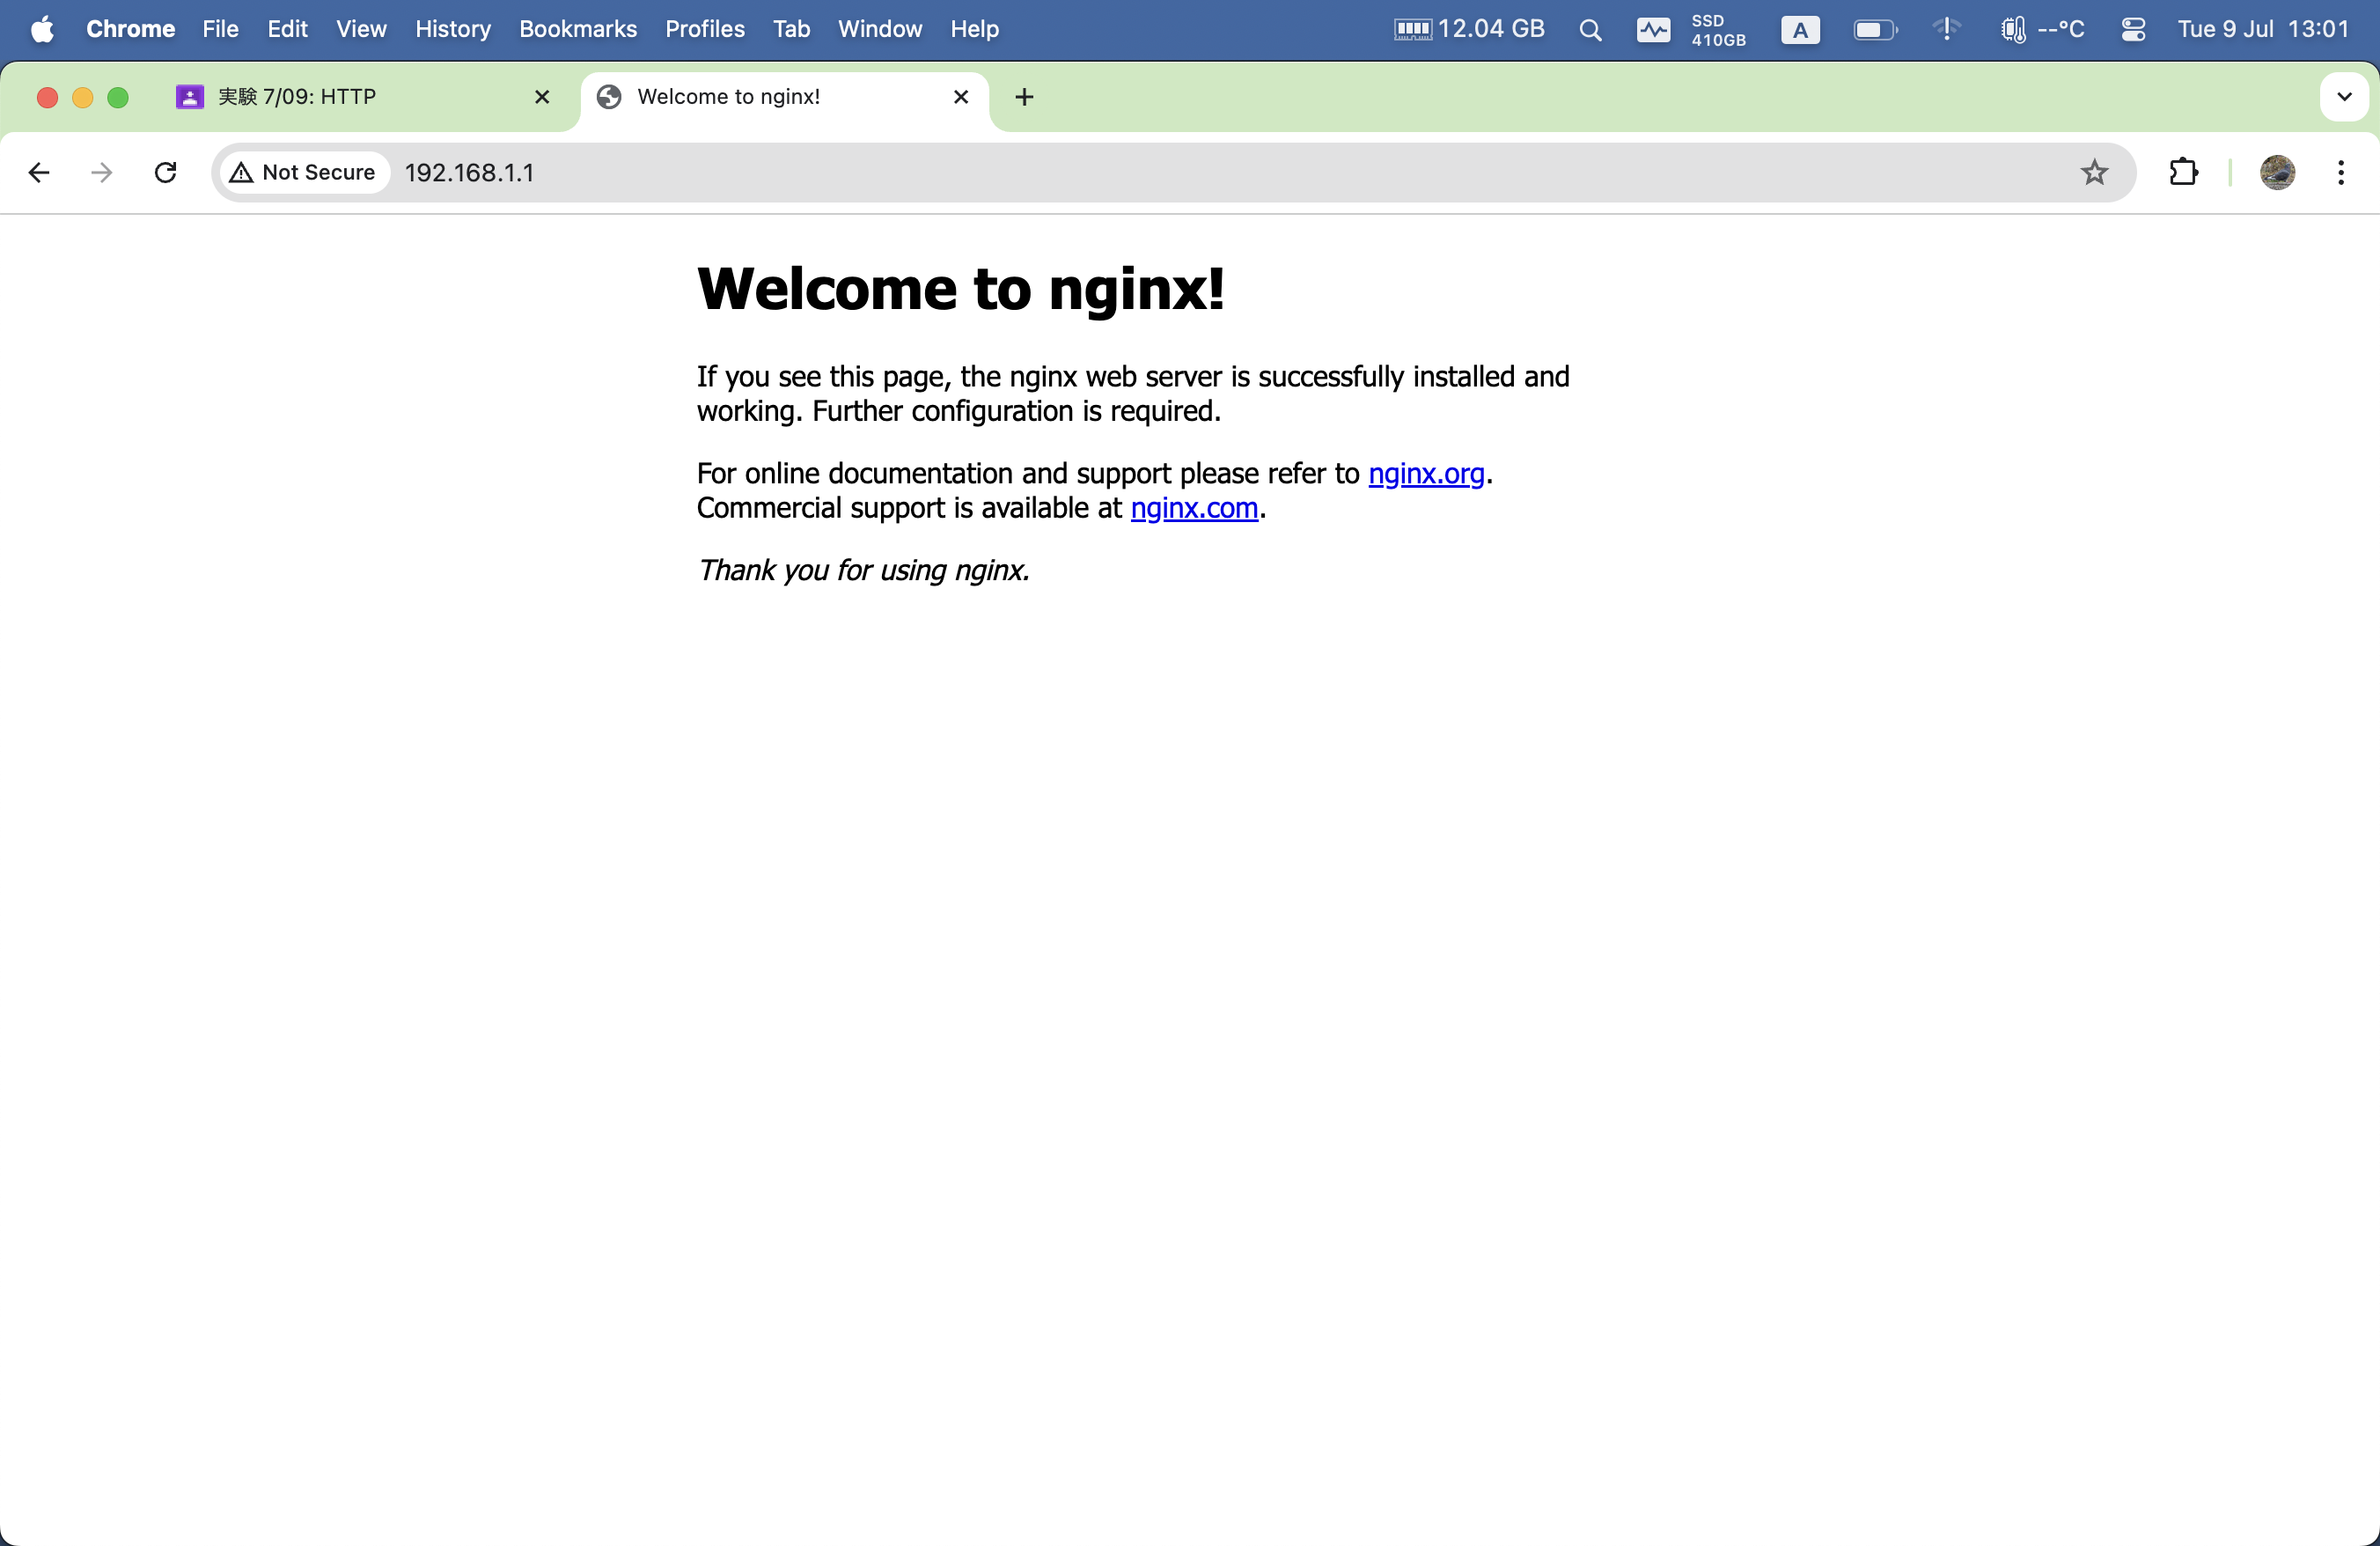
# nginx htmlファイルの場所
	/usr/share/nginx
	# または
	/var/www/html
# nginx logファイルの場所 ... /etc/nginx/nginx.confに場所が書いてある
/var/log/nginx
ログ
access.log
192.168.1.32 - - [05/Apr/2024:06:53:04 +0900] "GET / HTTP/1.1" 200 396 "-" "Mozilla/5.0 (Macintosh; Intel Mac OS X 10_15_7) AppleWebKit/537.36 (KHTML, like Gecko) Chrome/126.0.0.0 Safari/537.36"
192.168.1.32 - - [05/Apr/2024:06:53:04 +0900] "GET /favicon.ico HTTP/1.1" 404 188 "http://192.168.1.1/" "Mozilla/5.0 (Macintosh; Intel Mac OS X 10_15_7) AppleWebKit/537.36 (KHTML, like Gecko) Chrome/126.0.0.0 Safari/537.36"
192.168.1.32 - - [05/Apr/2024:06:54:37 +0900] "GET / HTTP/1.1" 304 0 "-" "Mozilla/5.0 (Macintosh; Intel Mac OS X 10_15_7) AppleWebKit/537.36 (KHTML, like Gecko) Chrome/126.0.0.0 Safari/537.36"
192.168.1.32 - - [05/Apr/2024:06:54:37 +0900] "GET / HTTP/1.1" 304 0 "-" "Mozilla/5.0 (Macintosh; Intel Mac OS X 10_15_7) AppleWebKit/537.36 (KHTML, like Gecko) Chrome/126.0.0.0 Safari/537.36"
192.168.1.32 - - [05/Apr/2024:06:54:39 +0900] "GET / HTTP/1.1" 304 0 "-" "Mozilla/5.0 (Macintosh; Intel Mac OS X 10_15_7) AppleWebKit/537.36 (KHTML, like Gecko) Chrome/126.0.0.0 Safari/537.36"
192.168.1.32 - - [05/Apr/2024:06:56:27 +0900] "GET / HTTP/1.1" 304 0 "-" "Mozilla/5.0 (Macintosh; Intel Mac OS X 10_15_7) AppleWebKit/537.36 (KHTML, like Gecko) Chrome/126.0.0.0 Safari/537.36"
192.168.1.32 - - [05/Apr/2024:06:59:06 +0900] "GET / HTTP/1.1" 200 612 "-" "curl/8.5.0"
192.168.1.32 - - [05/Apr/2024:06:59:22 +0900] "GET / HTTP/1.1" 200 612 "-" "curl/8.5.0"
::1 - - [05/Apr/2024:06:59:35 +0900] "GET / HTTP/1.1" 200 612 "-" "curl/7.74.0"
::1 - - [05/Apr/2024:06:59:58 +0900] "GET / HTTP/1.1" 200 612 "-" "curl/7.74.0"
error.log
2024/04/05 06:45:31 [notice] 1976#1976: using inherited sockets from "6;7;"
ウェブサーバー常時起動のコマンド
sudo systemctl enable nginx(ここでサービスとはの話を挟む)
http使用ポートの確認
% sudo nmap -F 192.168.1.1               ──(火, 709)─┘
Password:
Starting Nmap 7.95 ( https://nmap.org ) at 2024-07-09 13:17 JST
Nmap scan report for 192.168.1.1
Host is up (0.00088s latency).
Not shown: 98 closed tcp ports (reset)
PORT   STATE SERVICE
22/tcp open  ssh
80/tcp open  http
MAC Address: E4:5F:01:D5:15:81 (Raspberry Pi Trading)

Nmap done: 1 IP address (1 host up) scanned in 0.05 seconds
telnetがインストールされていない場合
brew install telnet
実際にtelnet
(base) Xx_:/Users/Xx_/School/current/expt/2024年度/reports/07:09 % telnet 192.168.1.1 80              1 ↵ ──(火, 709)─┘
Trying 192.168.1.1...
Connected to 192.168.1.1.
Escape character is '^]'.
GET / HTTP/1.0
Host: 192.168.1.1

HTTP/1.1 200 OK
Server: nginx/1.18.0
Date: Thu, 04 Apr 2024 22:16:12 GMT
Content-Type: text/html
Content-Length: 612
Last-Modified: Thu, 04 Apr 2024 21:45:28 GMT
Connection: close
ETag: "660f1f78-264"
Accept-Ranges: bytes

<!DOCTYPE html>
<html>
<head>
<title>Welcome to nginx!</title>
<style>
    body {
        width: 35em;
        margin: 0 auto;
        font-family: Tahoma, Verdana, Arial, sans-serif;
    }
</style>
</head>
<body>
<h1>Welcome to nginx!</h1>
<p>If you see this page, the nginx web server is successfully installed and
working. Further configuration is required.</p>

<p>For online documentation and support please refer to
<a href="http://nginx.org/">nginx.org</a>.<br/>
Commercial support is available at
<a href="http://nginx.com/">nginx.com</a>.</p>

<p><em>Thank you for using nginx.</em></p>
</body>
</html>
Connection closed by foreign host.
nginxを止める場合
sudo systemctl disable nginx
次
サーバから外部インターネットへの接続を中継するプロキシサーバ(フォワードプロキシ)と呼ばれます。また、外部インターネットからサーバへの接続を中継する仕組みをリバースプロキシと呼びます。
(できなければ)RPiでファイヤーウォールを制御する
sudo apt install ufw
sudo ufw allow 22/tcp
sudo ufw allow 80/tcp
sudo ufw allow 443/tcp
sudo ufw allow 8080/tcp
同行者がラズベリーパイ・MBA、NICを忘れた
→ 私が仮想環境を作り、そこにアクセスさせる
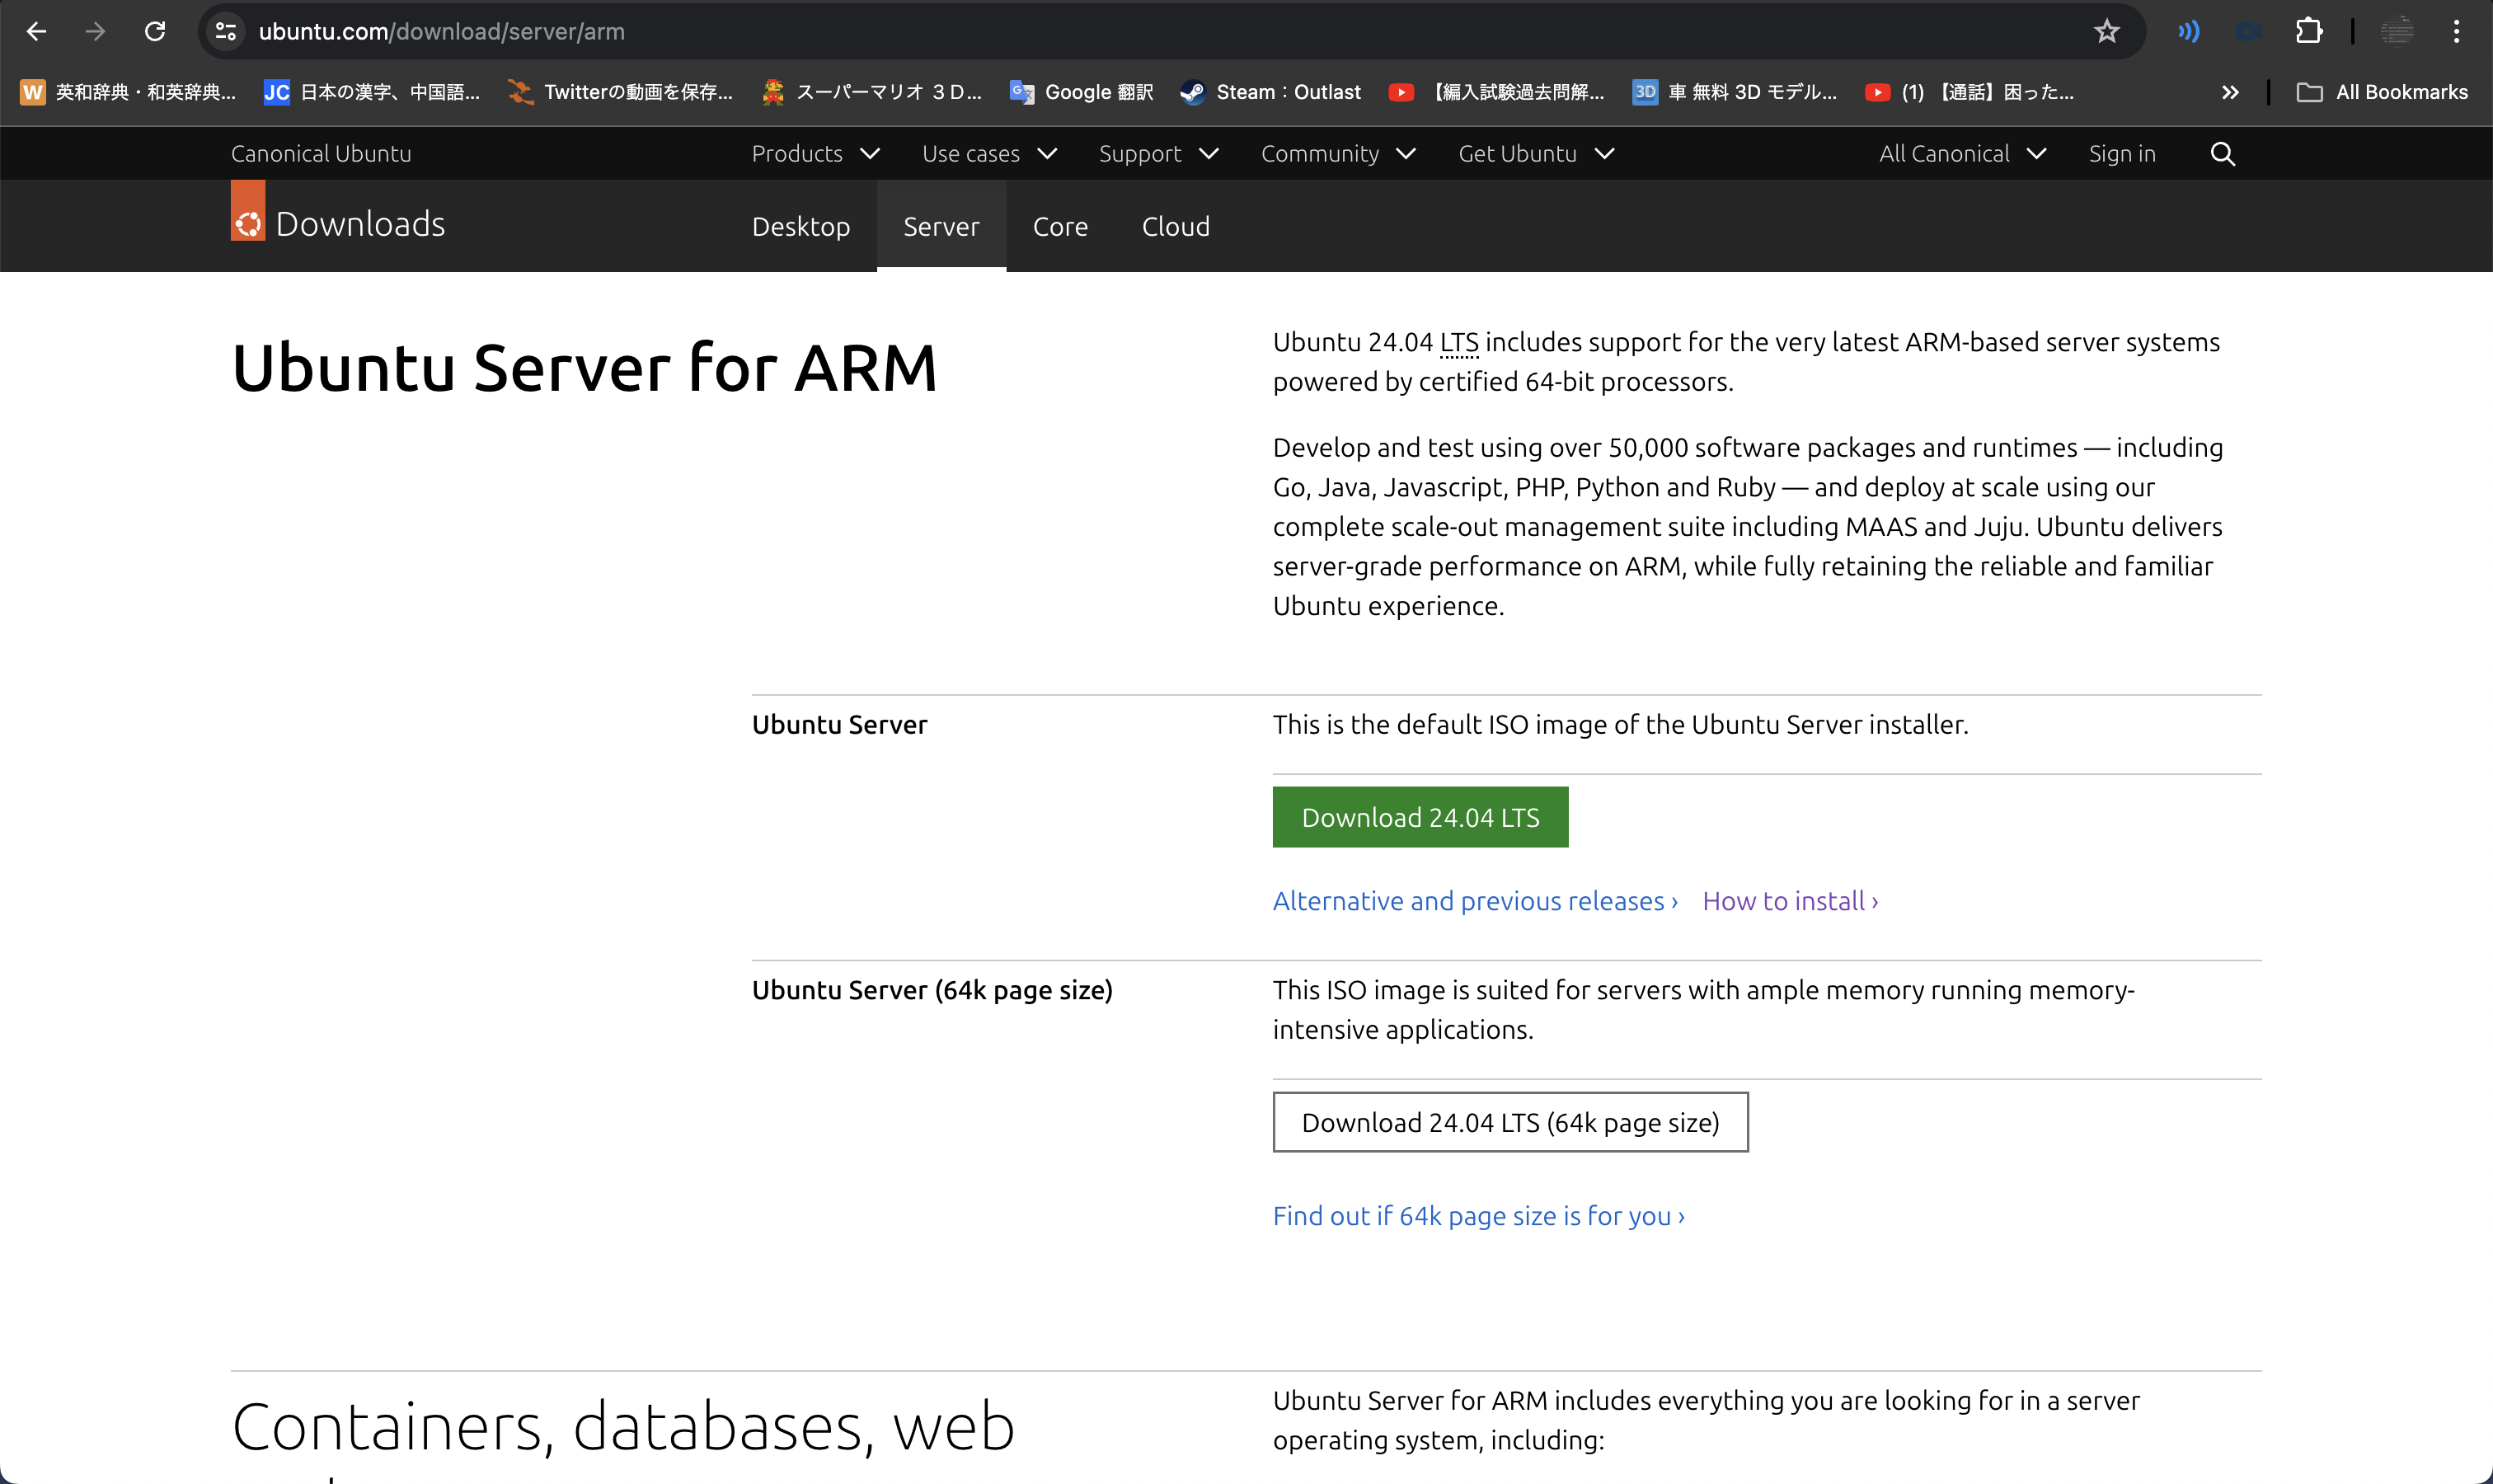
Ubuntu Server for ARM(https://ubuntu.com/download/server/arm)にアクセスし、イメージファイルをダウンロード
Parallels Desktop 19 for Macを起動
右上の+をクリックし
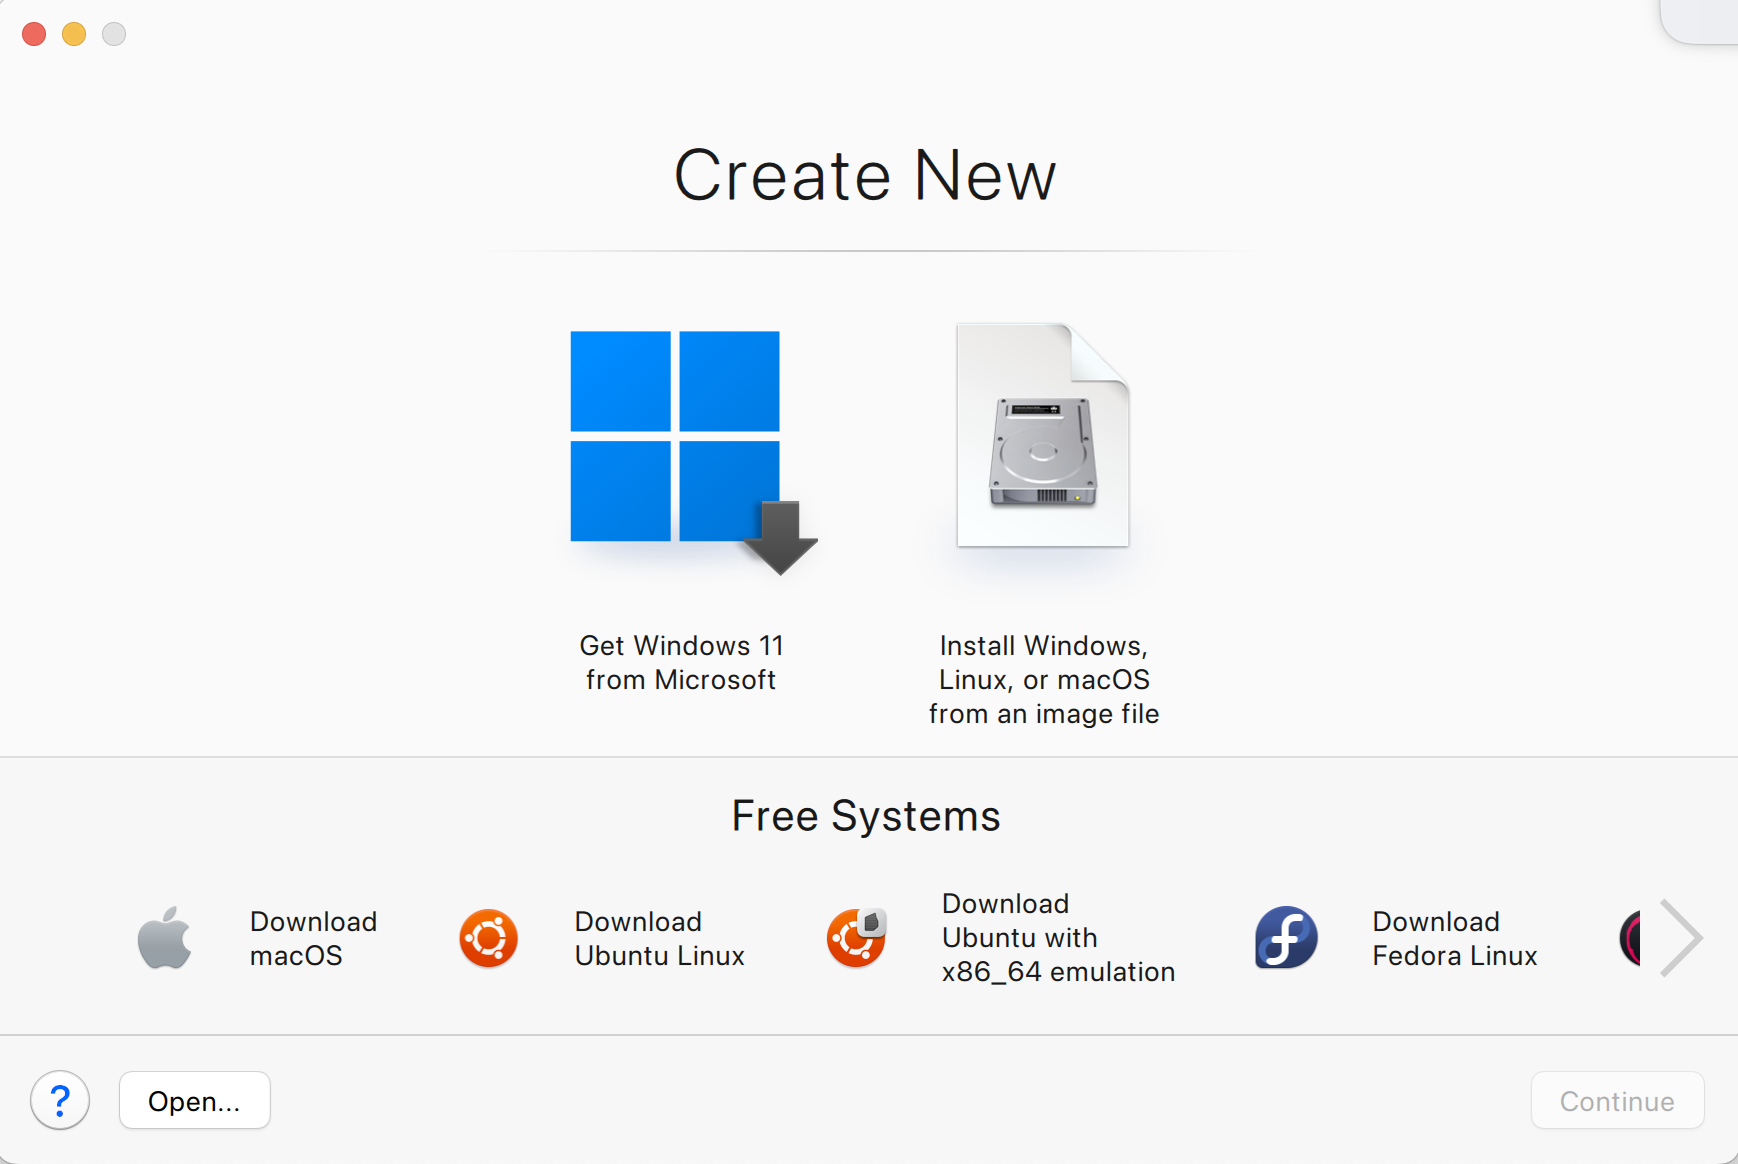
Install Windows, Linux, or macOS from an image fileを選択
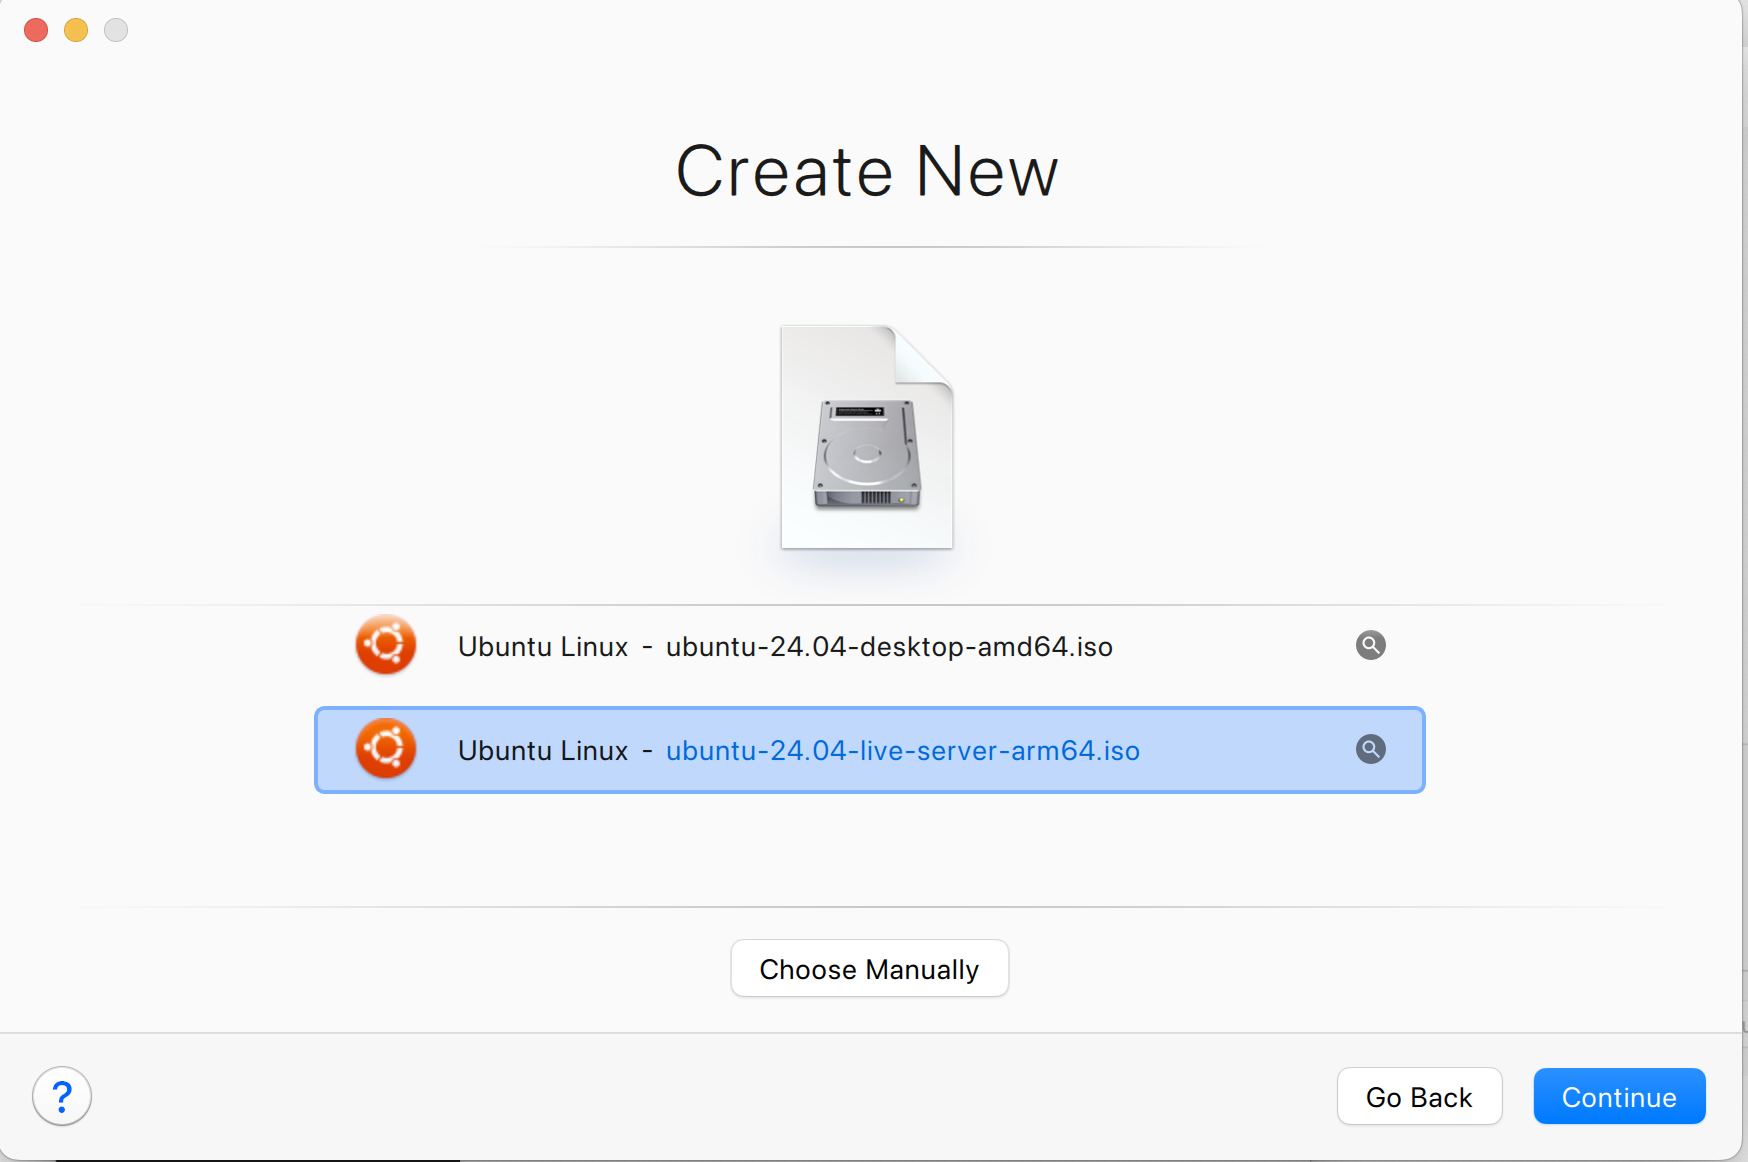
先ほどダウンロードしたisoファイルを選択し、手順に従ってUbuntuのインストールを進める(今回はユーザー名などをすべてjisshuに設定した)
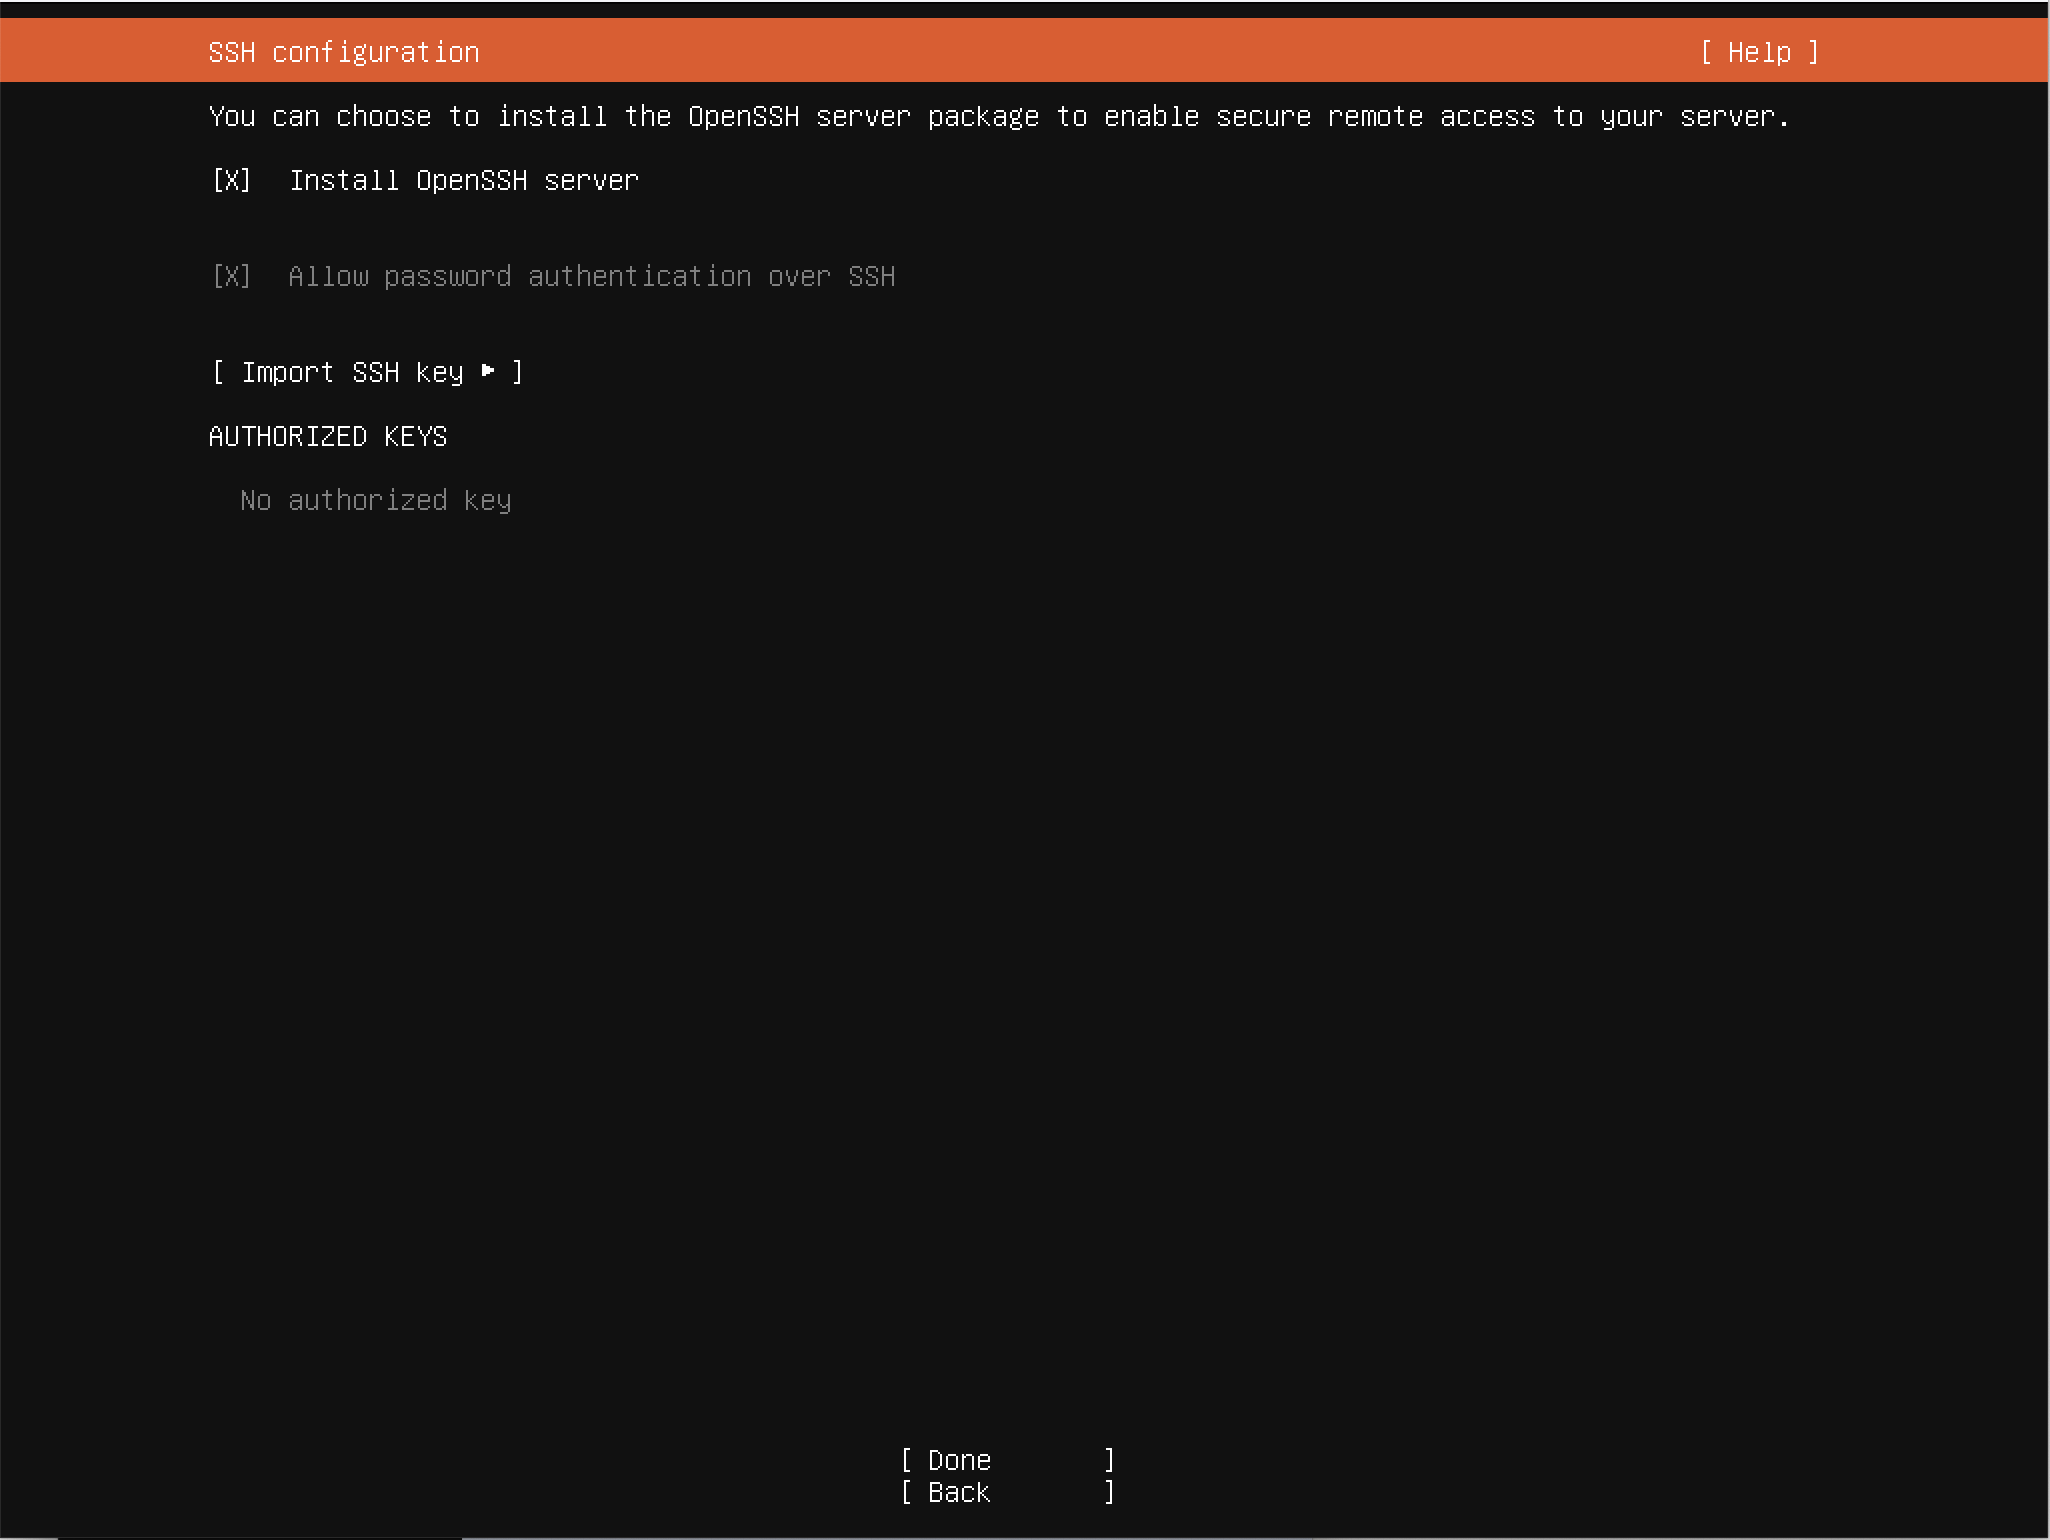
※ この際、Install OpenSSH serverにチェックを入れる
インストールが終わったら、Ubuntuを起動し、以下のコマンドを実行する
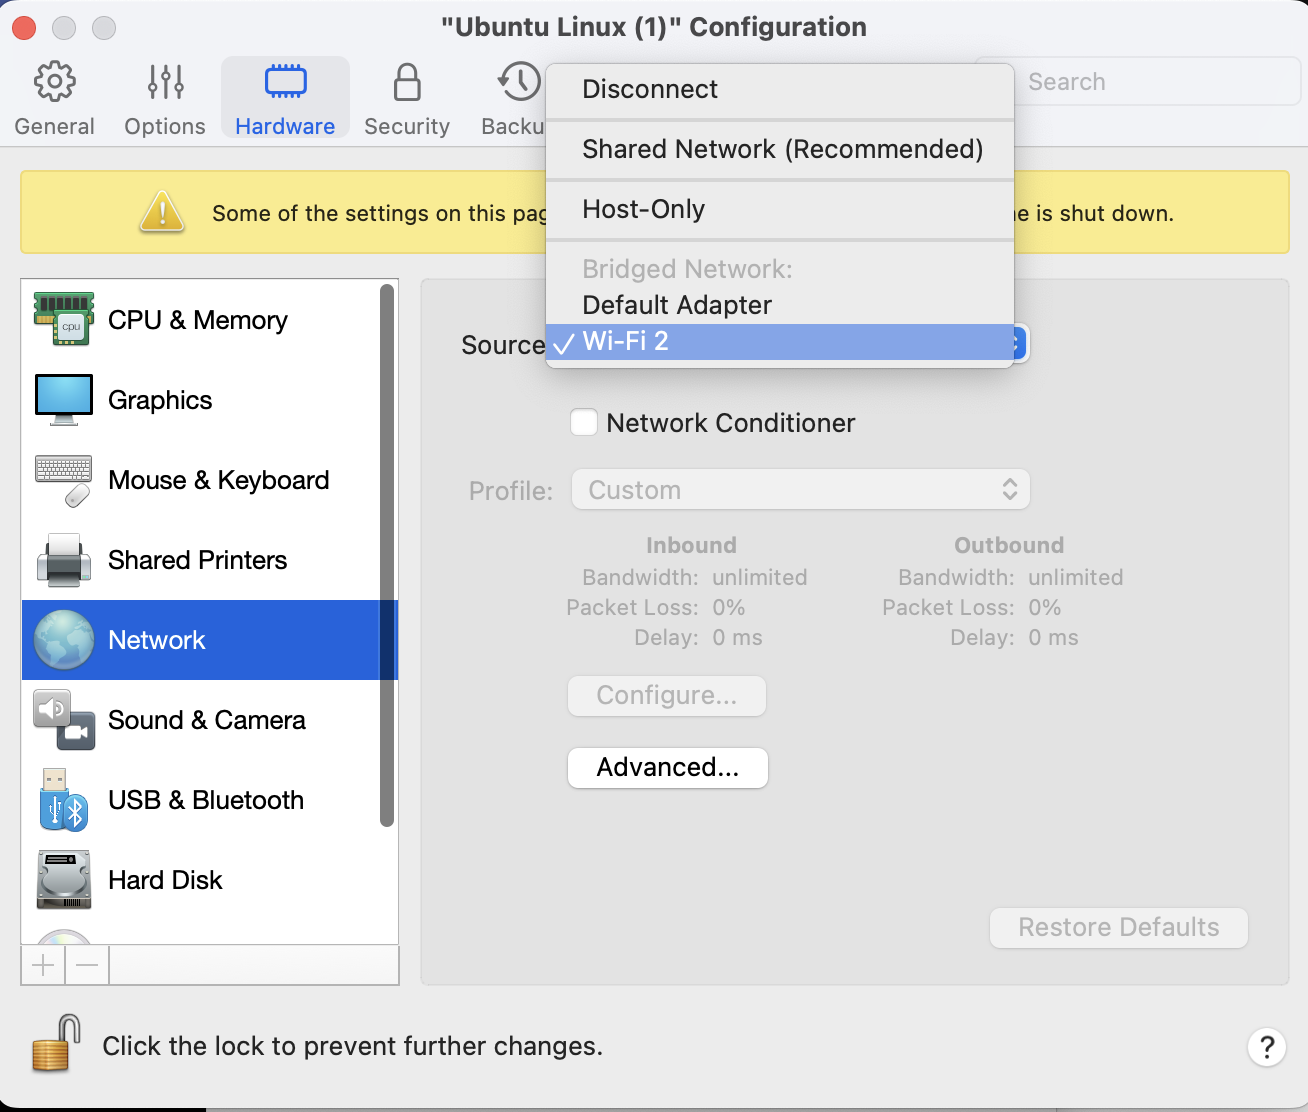
sudo apt update && sudo apt install nginx squid vimParallels Desktopのホーム画面に戻り、イメージの設定⚙️をクリック
SourceをWiFiに設定する
Ubuntuを起動し、vim /etc/netplan/50-cloud-init.yamlを実行
内容を以下のよう変更する
network:
    ethernets:
        enp0s5:
            dhcp4: false
            addresses: [172.24.15.69/22]
            routes:
              - to: default
                via: 172.24.15.254
            nameservers:
              addresses: [172.24.2.51]
    version: 2
sudo shutdown -h nowを実行し、シャットダウンする
Parallels Desktopのホーム画面から、先ほど作った仮想環境を右クリックし、Cloneする
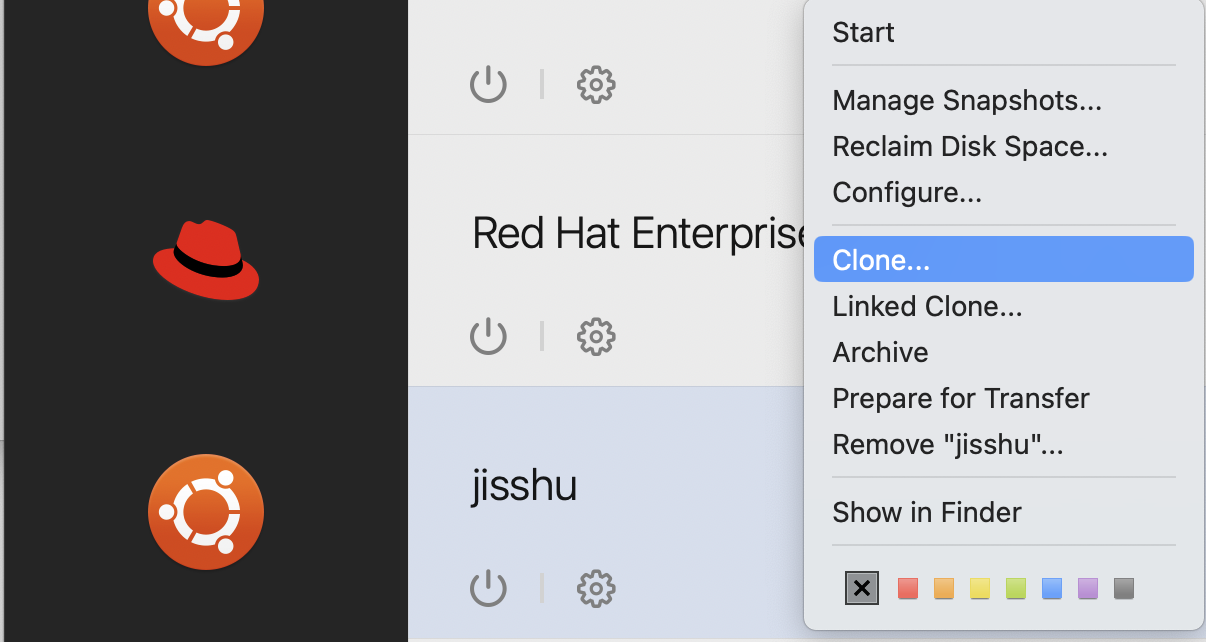
Cloneした環境に対し、同じようにNetworkを開き、Advanced…からMACアドレスを適当なものに変更する
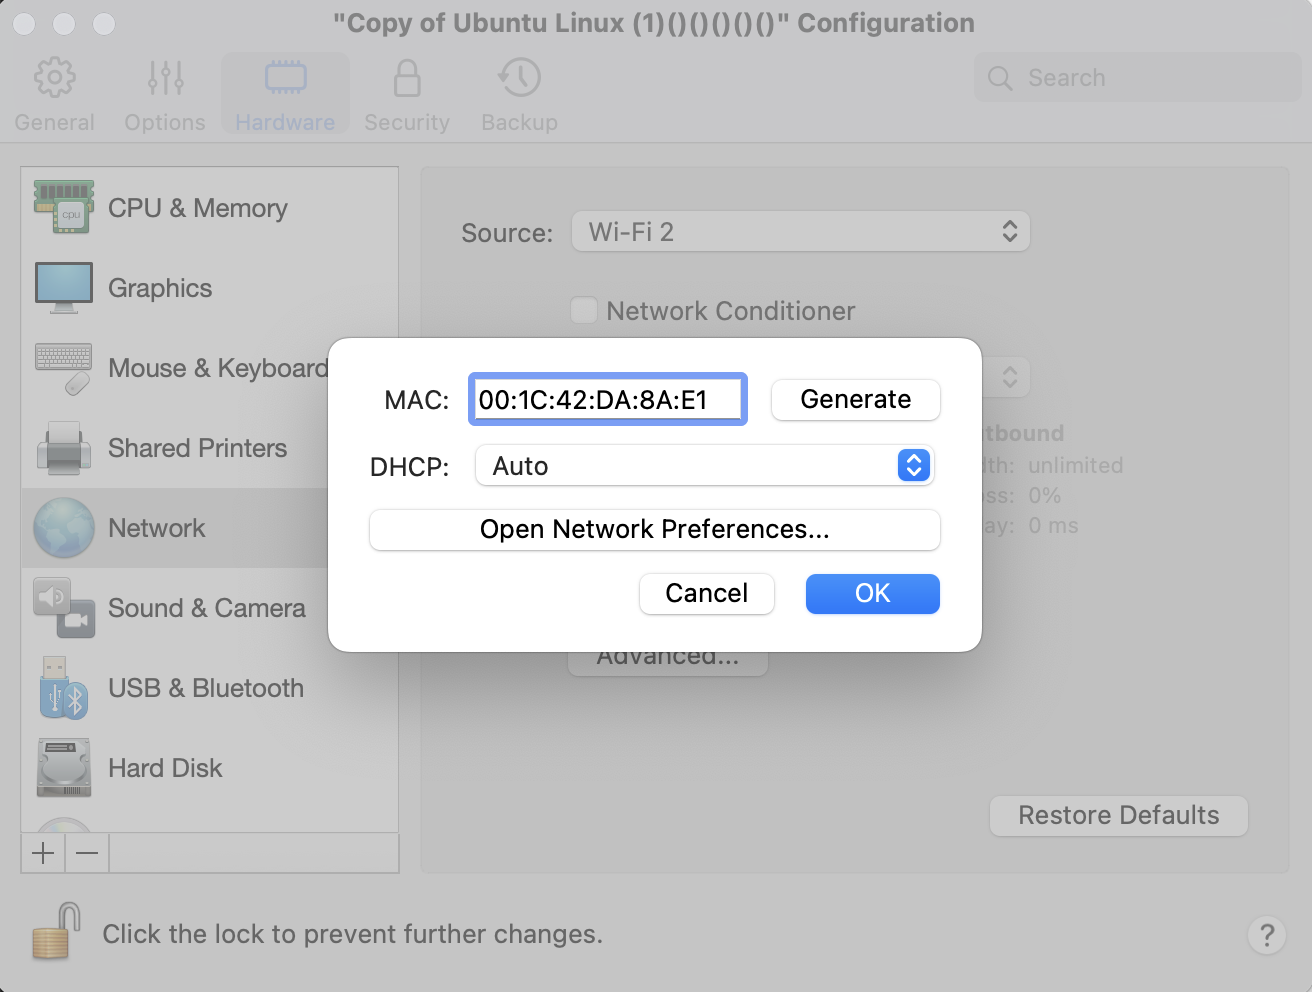
クローンしたUbuntuを起動し、vim /etc/netplan/50-cloud-init.yamlを実行
addressesを[172.24.15.70/22]に変更し、sudo netplan applyを実行
クローンしていない側のUbuntuを起動する
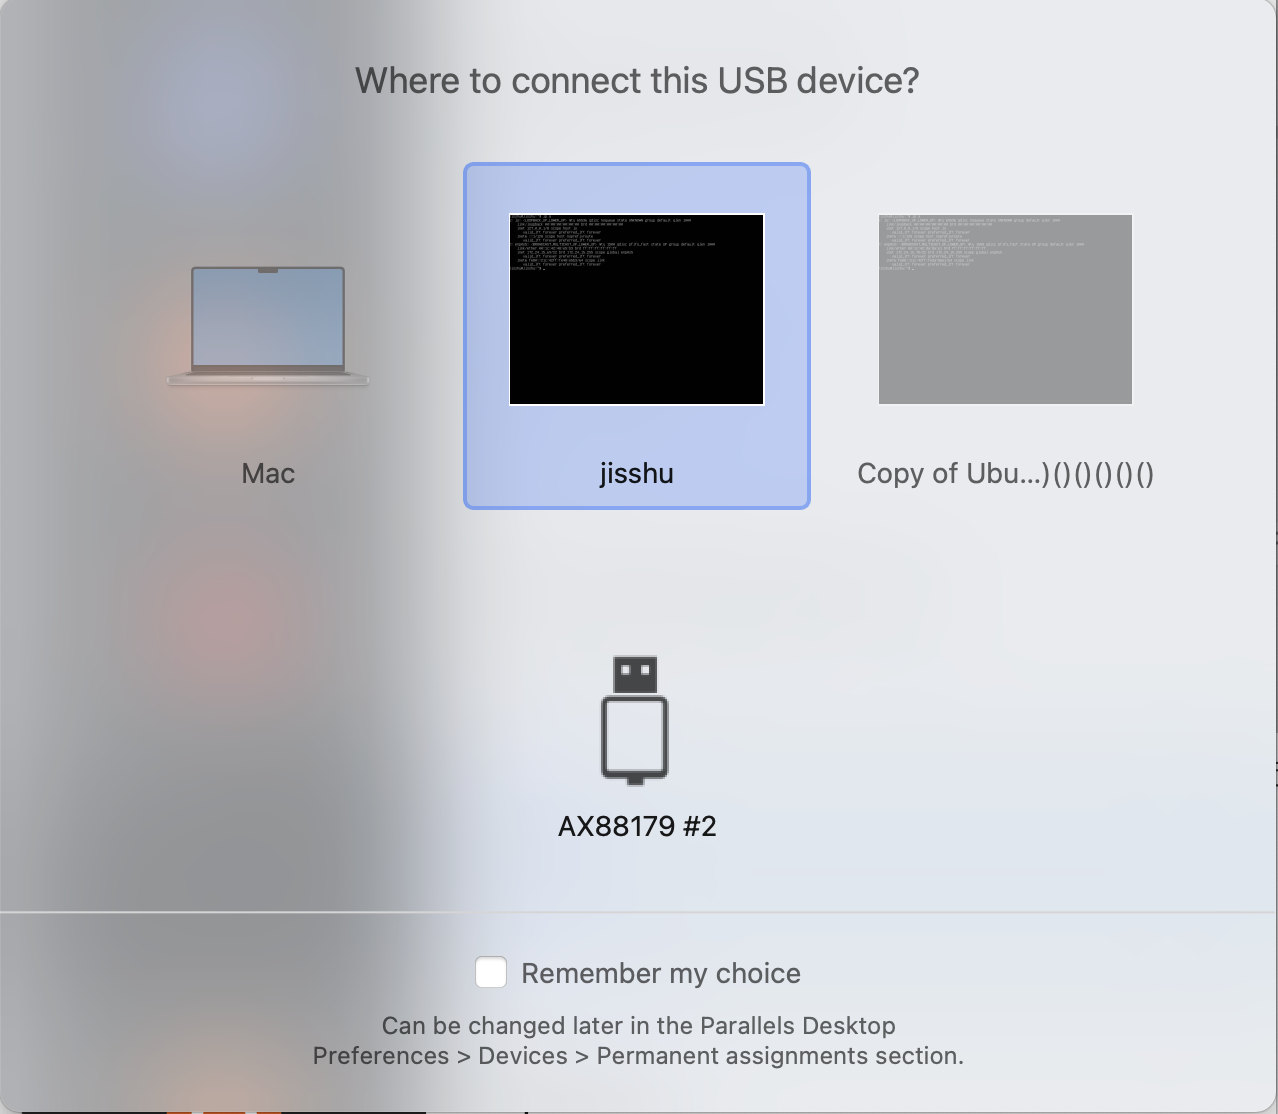
MBPにUSBNICを3つ接続し、それぞれの環境を一つずつ選択する
それぞれのnetplanに
        enx04ab18faffb5:
            dhcp4: false
            addresses: [192.168.1.2/24]
を追記